Discord reactive images are a fun way to enhance your online interactions. They allow your avatar to change expressions based on your actions, making your presence more dynamic and engaging. This guide will show you how to set up and use these images in your Discord chats. You don’t need to be tech-savvy; it’s easy to follow. Whether you’re a gamer, a student, or just someone who loves chatting with friends, reactive images can add a touch of personality to your conversations.
Outline
ToggleWhat Are Reactive Images?
Reactive images are special image files used on streaming platforms like Discord to create a more dynamic and engaging experience during voice or video calls. They are most commonly used by streamers who don’t want to be on camera themselves but still want to have a visual presence. Here’s a breakdown of how they work:
- Visual Avatars: Instead of a static profile picture, reactive images are typically PNG avatars that can change their appearance based on user actions.
- Triggered By Voice: The most common way these images react is by lighting up, changing expression, or making small movements when the user speaks on the mic.
- VTuber Alternative: This functionality is particularly popular with VTubers (Virtual YouTubers) who use elaborate digital avatars instead of showing their real faces. However, anyone can use reactive images for a more interactive avatar during calls.
How To Use Discord Reactive Images?
1. Navigate To Discord Reactive Images Website
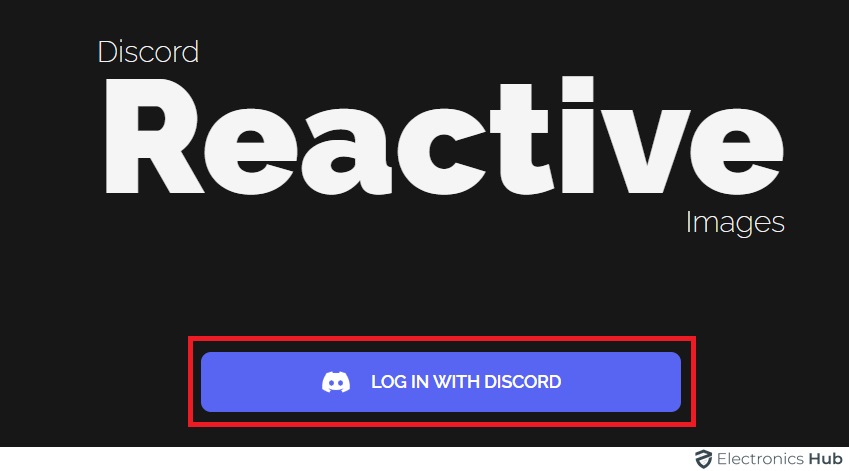
First, log in to Discord via the Discord Reactive Images website. Follow these steps:
- Click the “Login”

- Enter your Discord credentials.
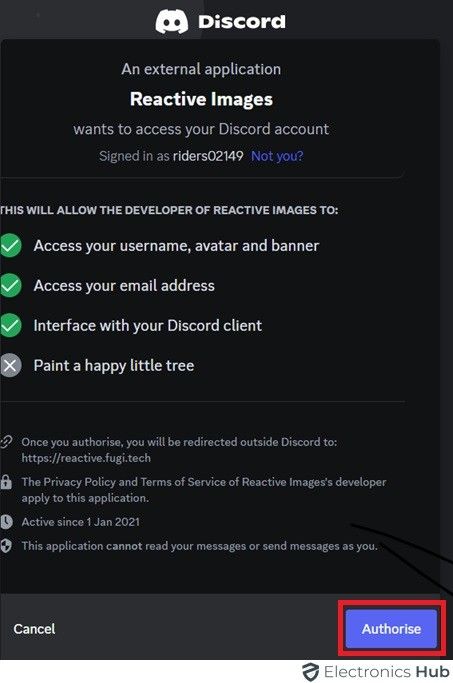
- Click the “Authorize” button to give Reactive Images access to your Discord account.

2. Upload PNG Images
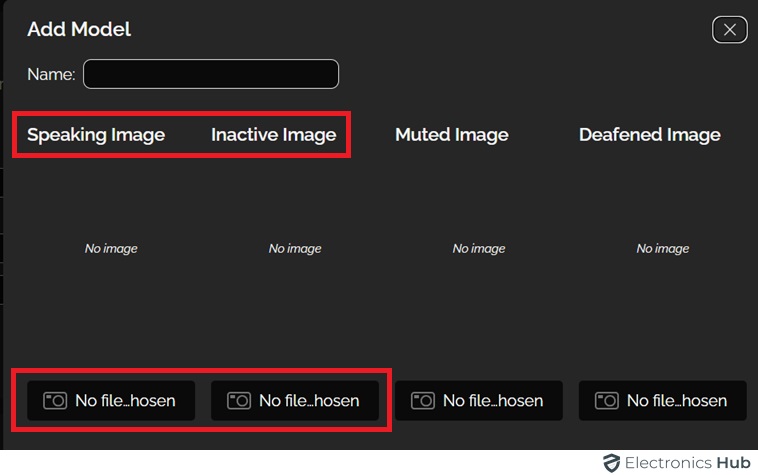
- Log in to your account. You will see options to upload images on your screen.
- Tap on the “No file chosen” button under “Set Inactive Image” and “Set Speaking Image.”

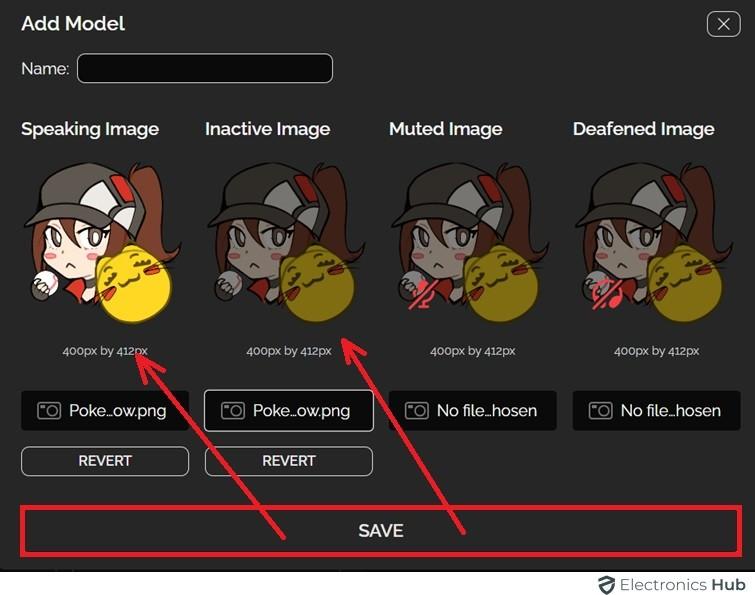
- Upload your two desired PNG images:
- The ‘Speaking’ image will show while you speak.
- The inactive image will show when you are mute.
- After selecting each image, click the “Save” button.

3. Copy The Link
- After you upload the images, copy the link on the left under “Individual Browser Source.”
4. Add Discord Reactive Image Browser As A Source
- Download the Streamlabs desktop app on your computer.
- Click the “+” icon next to “Sources.”
- Select the “Browse Source”
- Enter a title like “PNG Avatar” or “Reactive Image” in the space provided.
- Click the “Add Source”
- Paste the copied link into the URL space.
5. Start Streaming
Now, open Discord and join any voice channel where you want to stream. Discord will use the Streamlabs virtual camera to show your PNG avatar. If it doesn’t, then follow these steps.
- Open Discord and go to “User Settings.”
- Click on the “Voice & Video”
- Under “Camera,” choose “Streamlabs OBS Virtual Webcam.”
Your PNG avatar will react to your voice, switching between speaking and non-speaking. This lets you live stream without showing your face, using the PNG avatar.
FAQs:
To set up reactive images on Discord, use the OBS Streamkit overlay, customize your avatar settings, and integrate it with your Discord voice activity for dynamic reactions during streams.
No special software is needed to use reactive images on Discord. Just use Discord’s built-in features or third-party bots like MEE6 or Dyno for custom reactions.
Yes, you can create your own reactive images for Discord using graphic design software like Photoshop or GIMP, then upload them as custom emojis or use them in server channels.
No, reactive images cannot be used in Discord voice chats. Discord voice chats support audio communication and video calls, but not reactive images or visual effects.
Conclusion
In conclusion, by following these steps, you should be well on your way to bringing your avatar to life in your Discord calls and streams. With a little creativity and these reactive images, you can add a fun and engaging element to your online presence. Did you find this blog informative? If you have any questions about using Discord reactive images, feel free to leave a comment below!

